Cleaning the Interior of Your Grill
Cleaning the interior of your grill is important to keep your grill operating at peak performance while maintaining a healthy cooking environment.
The following information will let you know what to use to clean your grill and how to get it done.
Grill Head
Stainless Steel Grill Heads
Thoroughly clean stains, food, and grime using a sponge or damp cloth with warm water and mild dish soap. Use Fantastik or Formula 409 to remove heavier soil.
Thoroughly rinse all surfaces and dry them completely with a clean towel. Do not allow water to accumulate and puddle on stainless steel. Water from various sources such as garden hoses contains iron which will give the appearance of rusting on stainless steel. If allowed to stand for long periods of time on stainless steel, it will cause pitting.
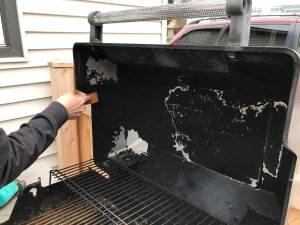
The first step to removing the grease build-up is to gently scrape the lid a putty knife.
Cast Aluminum Grill Heads
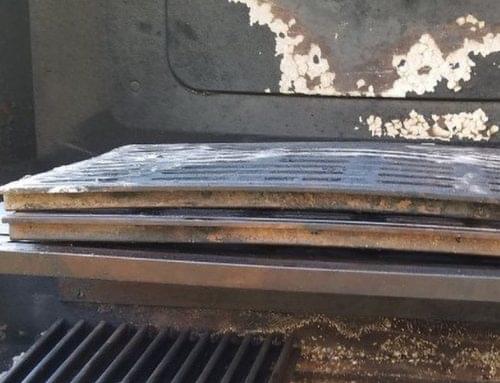
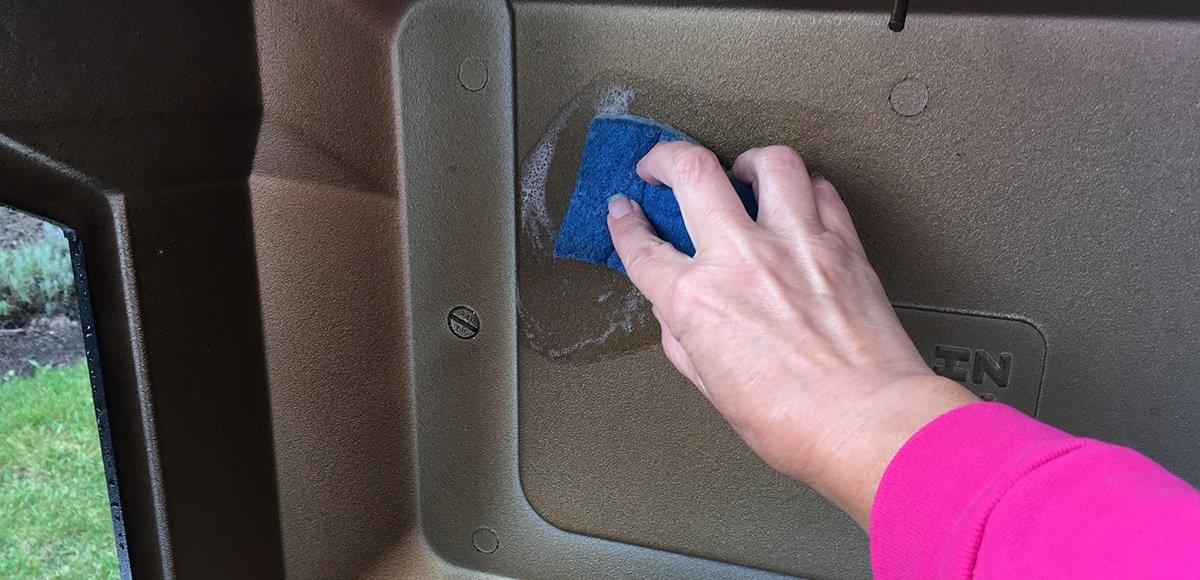
Over time carbon and grease residue can build up on the inside of the grill castings. While it may look like peeling paint, MHP has never painted the inside of our grill castings. With a few simple steps, you can get rid of this build-up.
- Scrape off loose flakes with a putty knife
- Once loose flakes are removed, lightly scrub over the area with a balled-up piece of tin foil.
To take the cleaning process a little further…
- Remove the top casting (grill lid) and soak it in hot water and mild dish soap (such as Dawn).
- After soaking, scrub casting clean with a nylon mesh scrubby pad and rinse.
Burners
Spiders and small insects occasionally inhabit or make nests in the burner tubes, obstructing the gas flow. Sometimes this results in a type of fire in and around the gas tubes called “flashback”. To reduce the risk of flashback, the following procedure should be followed at least once a month or when your grill has not been used for an extended period of time.
![]() Prior to starting this procedure, turn OFF all of the gas control knobs, shut off the fuel supply, and disconnect the fuel line.
Prior to starting this procedure, turn OFF all of the gas control knobs, shut off the fuel supply, and disconnect the fuel line.

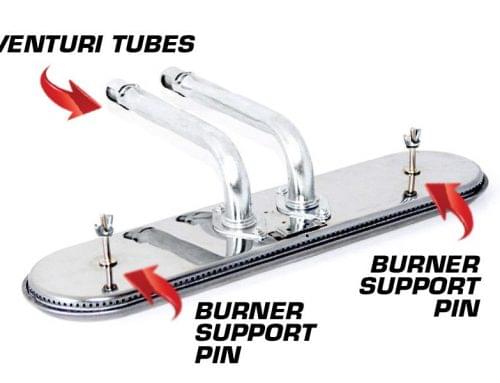
- The burners can be removed by releasing the locking pins and lifting them out. The locking pins are located under the grill toward the back. Remove burners from the grill by carefully lifting each burner up and away from the gas valve orifice.
- Use a wire brush or stiff laundry brush to clean the outer surface of each burner to remove food residue and dirt. Clean any clogged ports with a stiff wire such as an opened paper clip. Use the supplied venturi tube cleaning brush (VTCB), bottle brush or pipe cleaner to clean out the venturis.
- Inspect each burner for damage (cracks and holes). If any damage is found, discontinue grill usage until you replace the burner.
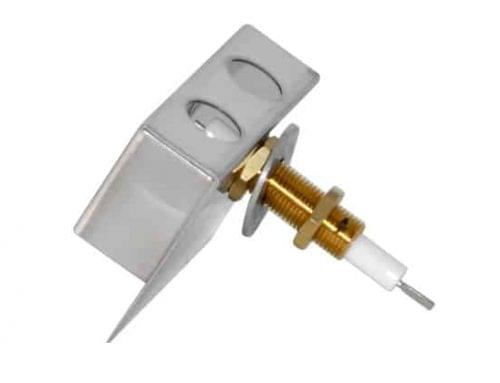
- After reinstalling the burners inspect the gas valve orifices for cleanliness and condition and the location of the ignitors. When you replace the burners, you will also need to re-attach the locking pins.
How to Clean Venturi Tubes & Valves
How to Remove the H Burner
How to Install the H Burner
Cooking Grids
Preheat your grill for about 15 minutes, then using a brass bristle brush to clean off any build-up of food residue.
Stainless Steel Cooking Grids
On the Grill…
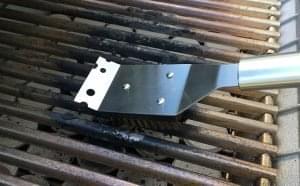
- Preheat your grill for 15 minutes with the lid closed or until the cooking grids are warmed up.
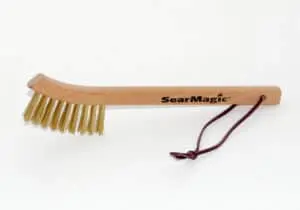
- Use a brass bristle brush (WB8 shown in the picture to right) or balled up aluminum foil to scrape and clean your grids when they are hot.
Off the Grill…
- Use hot soapy water to soak your grids and then use a nylon scrubby pad.
- Use oven cleaner like Easy-Off as directed to clean caked-on clumps of food and residue off your grids. Once you have cleaned off the build-up make sure to wash them with hot soapy water and a nylon scrubby to remove any additional debris.
- You can put the cooking grids into a large black plastic garbage bag, add enough vinegar to cover your grids, seal the garbage bag and then place in the hot sun for several hours. When you take the grids out you can wash them with hot soapy water and a nylon scrubby to remove any additional debris. (We do not recommend this cleaning process for our SearMagic Grids. See below for proper SearMagic maintenance)
SearMagic® Cooking Grids
On the Grill…
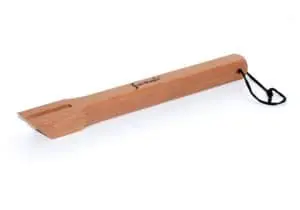
A good time to gently clean or wipe your grids is while the grill is heating up before each use. Using the wood scaping tool (GGWB5) or a brass bristle brush (GGWB10) remove any leftover food particles or other debris. We do not recommend doing a high heat burn off with SearMagic grids as this tends to bake on the debris rather than burn it off. Instead, get into the habit of rotating, or flipping your SearMagic grids to the smooth side up/ribbed side down. The benefits of doing this are two-fold. With the smooth side up you will have an area on your grill that can be used for vegetables, fish and more delicate items. While the ribbed side down allows for debris in the channels to burn off during grilling.
Steaming grill brushes have become popular and work well when used occasionally for a good cleaning. However, go easy on the amount of water used because too much water on a hot SearMagic grid could warp them. If you do not have one of the new steam-style grill brushes you can simulate the results by using a spray bottle with water during warm-up to lightly mist your grids then clean with a standard brass bristle brush.
![]() Please use caution and wear protective gear for your hands when using any type of steam on your grill.
Please use caution and wear protective gear for your hands when using any type of steam on your grill.
Off the Grill…
From time to time, you will want to remove your SearMagic grids and do a more thorough cleaning—especially after grilling with marinades or sauces that can build-up in the grid valleys. When the grids are cold soak them in a sink or tub filled with hot water and a grease-cutting dish soap like Dawn. This will soften the debris enough so you can easily remove it with a sponge or nylon scrubby pad.

![]() IMPORTANT: Over time, it is normal for color change (bronze to black) to occur on these aluminum grids.
IMPORTANT: Over time, it is normal for color change (bronze to black) to occur on these aluminum grids.
Grease Trays/Drip Pans
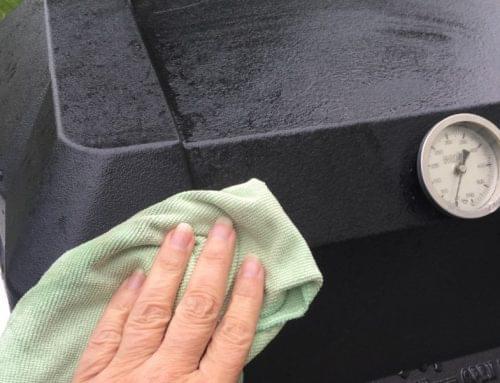
All of our grills have a grease collector of some type–either a grease tray, drip pan or cup. Over time meat juices and fats can accumulate. We recommend checking them regularly to avoid overflow or grease fires. Cleaning the pan, tray or cup is pretty easy. After your grill has cooled down remove the pan, tray or cup and soak in a bucket of warm water and mild dish soap (such as Dawn) for 5-10 minutes. After soaking wash it down with a sponge or dishrag and rinse with clean water.

Drip Cup

Drip Pan
on a built-in grill

Drip Tray/Grease Tray
For Phoenix Grills…

Phoenix Drip Tray
 The drip pan on our Phoenix grills will collect grease from the main grill area. The pan should be cleaned after every use to avoid the possibility of a grease fire. Be sure to allow the drip pan to cool prior to cleaning.
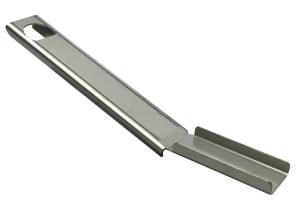
With the cooking grid removed, we recommend using our Stainless Steel Scraper (SDDPS) that has been designed specifically for cleaning our Phoenix grills or a 3-inch putty knife to scrape the build-up from the surface of the drip pan. Scrape it down towards the drain channel, until all the debris is accumulated in the channel. You don’t have to scrape the drip pan down to its shiny surface. Just scape enough to clear the build-up. Using the Stainless Steel Scraper (SDDPS) or a 1-1/2″ putty knife, scrape out the drain channel and scoop out the black crunchy stuff, putting it in your bucket. It is important to keep the drain channel clear to give you maximum heating performance.